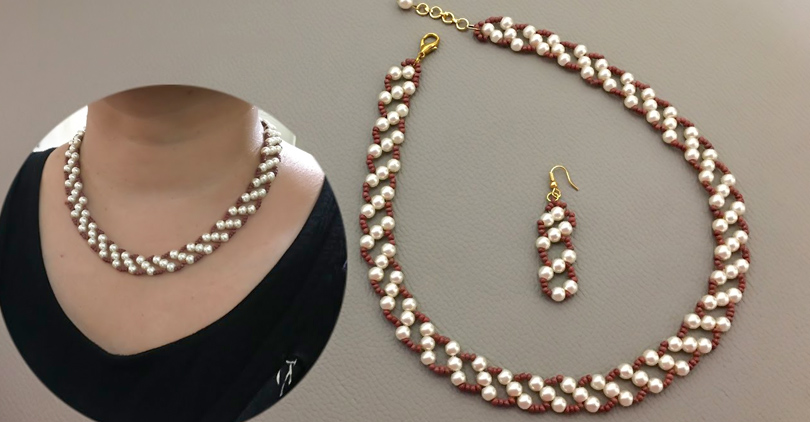
DIY Pearl Necklaces: Simple To Elegant Pieces With Easy Steps


Pearl necklaces offer timeless elegance, classic charm, and a touch of glamor that complements any outfit and elevates your day-to-night look.
Traditional necklace designs may clash with modern outfits, while DIY jewelry pieces reflect your sense of styling toward modern fashion. However, a tricky step and complex knotting can create confusion while making a pearl strand at home.
If you want a stunning DIY pearl necklace, follow our easy steps and quick guide to create beautiful pieces in minutes.
Does Necklace Customization Enhance Beauty?
While pearl necklace pieces offer classic beauty, lustrous shine, and stunning charm, quick customization can bring your sense of art to designs.
According to Linkouture, DIY pearl necklaces are unique and quirky enough to give any outfit a chic and feminine vibe. Besides, the charming style and new styles of DIY pieces infuse classic taste with a modern accent of pearls into day-to-night attire.
Further, necklace customization allows you space to adapt these beautiful strands to your desired, trendy looks.
DIY Pearl Necklaces: Quick Guide For Beautiful Pieces
To create a beautiful pearl necklace, select a perfect line, prepare the line, string the pearls, make knots, and attach clasps. Let's dig into these steps in detail.
Get The Perfect Line
Silk or nylon lines are a standard choice for pearl stringing as they offer a wide range of thickness, covering thin #0 to thick #16. To work with small pearl sizes, pick the #2 to #3 line while trying the #5 to #6 line can hold up your large pearl string.
Once you pick a perfect-sized silk thread, measure the line according to the length of your desired necklace. For a 16-18-inch knotted necklace, select a 1.5 m silk thread length and use scissors to cut the measured line.
Prepare The Line
Though the silk line is quite resilient, regular contact with sweat, body oil, and chemicals weakens the necklace thread. Try a small amount of beeswax to coat appropriately and stretch the silk thread to increase strength.
In addition, use a bead clamp while folding the thread in half to build a strong line by connecting the ends. Hence, the fold-up line with a beeswax coat can protect your silk thread from deterioration for over a decade.
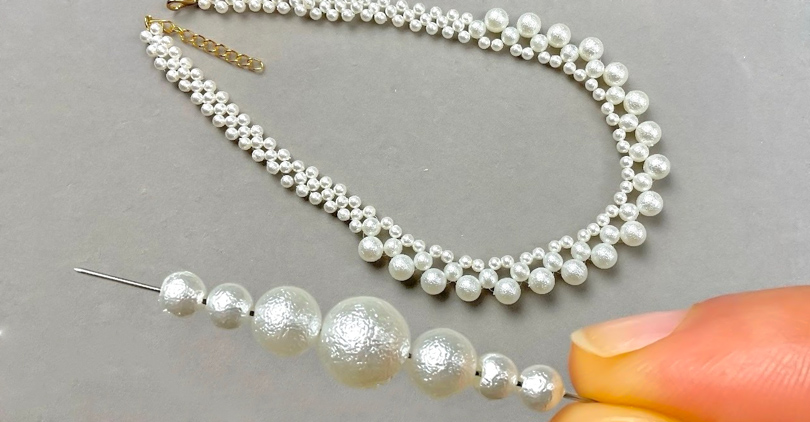
Stringing The Pearls
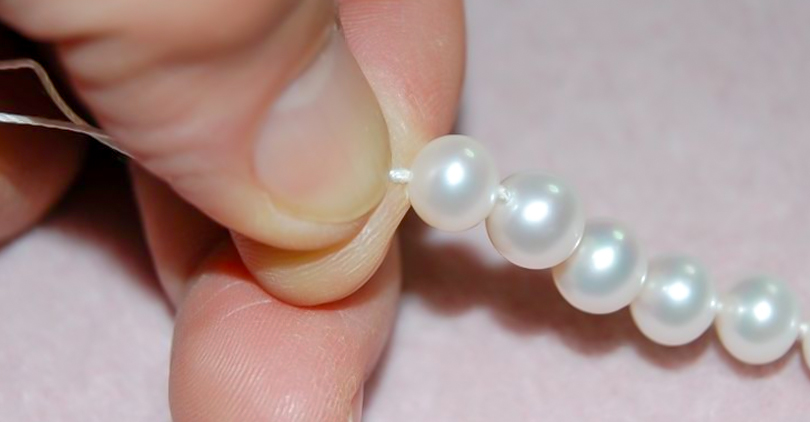
Before stringing a pearl necklace, lay a towel, mat, or tray down and spread the beads to prevent losing your scattered pearls. Next, pick a thin wire and string pearls one at a time by placing these beads centrally onto the thread.
Based on wikiHow, try various colors or sizes to create a pattern as you string the pearl in reverse fashion. However, check the thread's width by passing wired needles multiple times to verify the thickness.
Threading & Tying
After threading the pearls one by one, take a clamshell tip and string at the end knot to connect the loose ends of the silk line.
Then, close the clamshell tip till the end of your line by adding a drop of glue while the knot is nestling inside the tip. If you’re looking for a decade of longevity, tie a knot to the clamshell tip to prevent rubbing against a hard surface.
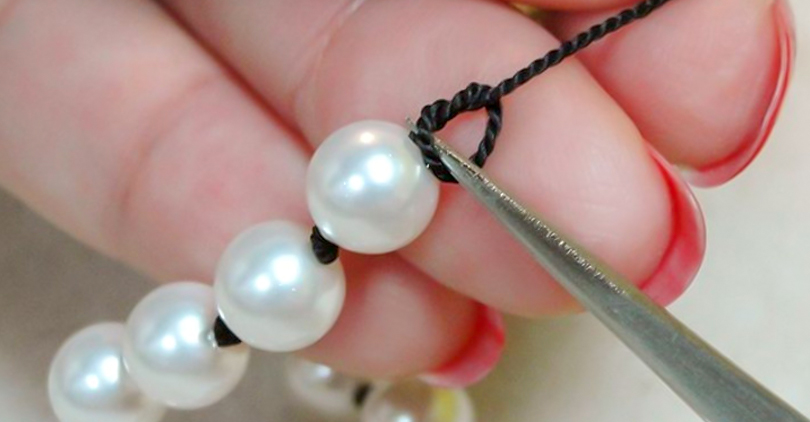
String Knots & Verify Length
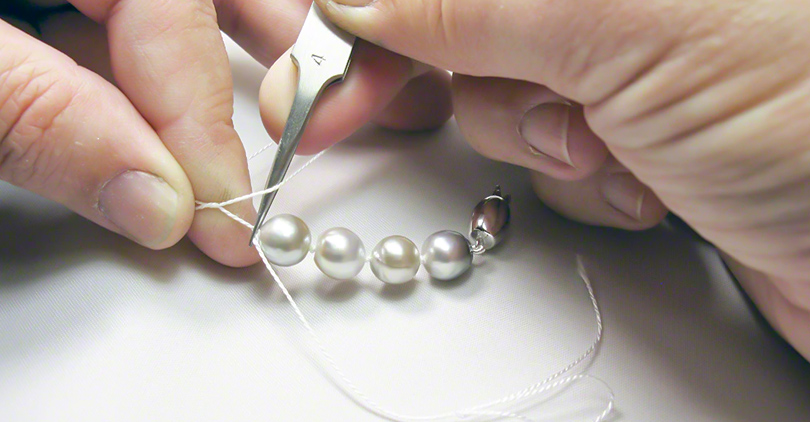
When stringing the pearls, make knots between pearls to add a little space and prevent rubbing of each other. Use tweezers to make knots precisely and tightly, as sliding of pearls may cause severe tear or wear.
Check out the necklace length to maintain the desired one during the pearl threading and knotting. Just keep the pearl falling off against your neck with one hand to verify the size and keep stung to get the desired necklace.
Attach Clasps To Finish
Once you complete the threading and knotting, attach a clamshell tip to the loose end, place a bit of glue, and close the clamshell.
Finally, attach a clasp, blend the clamshell tips, and use glue on the tip end to prevent them from coming loose. Check out the knots and lengths with a finishing touch to get a beautiful pearl necklace.
Tips To Create Stylish Pearl Necklaces At Home
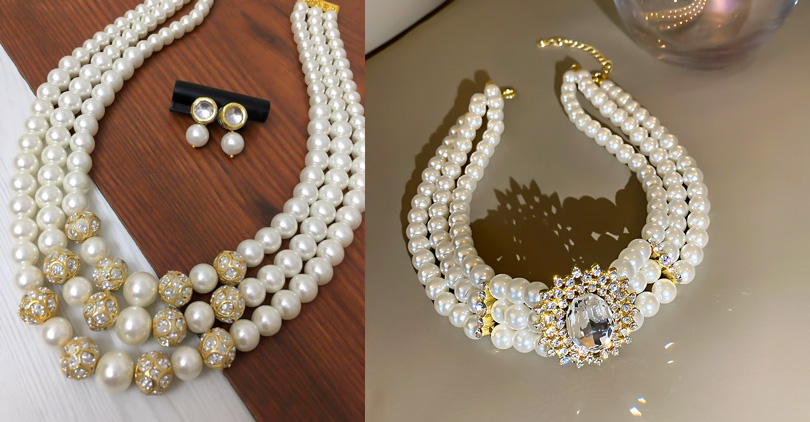
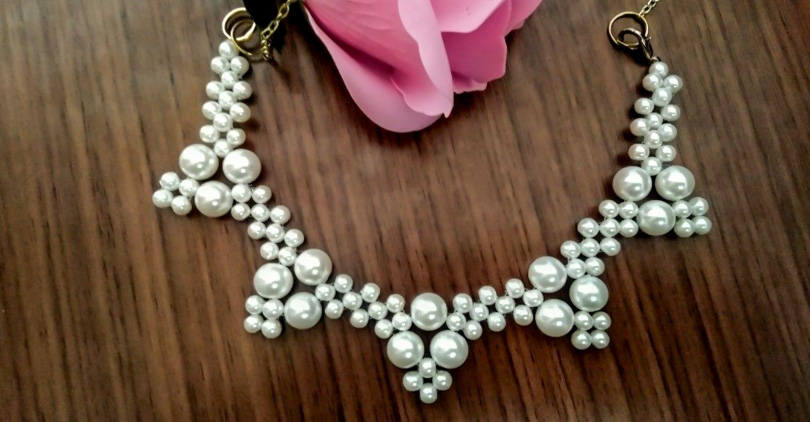
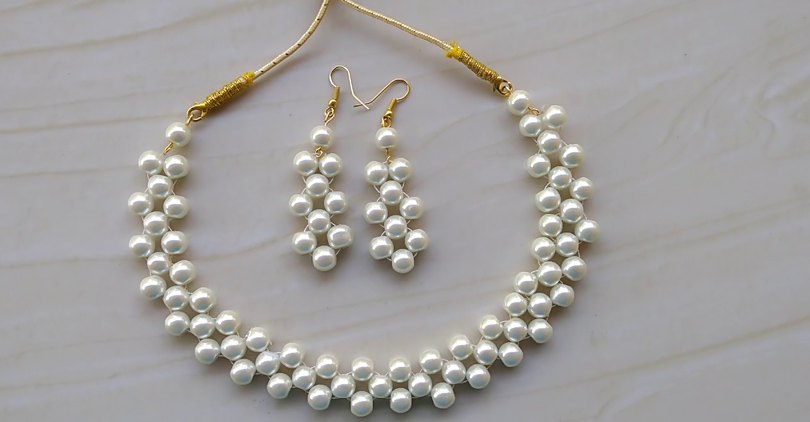
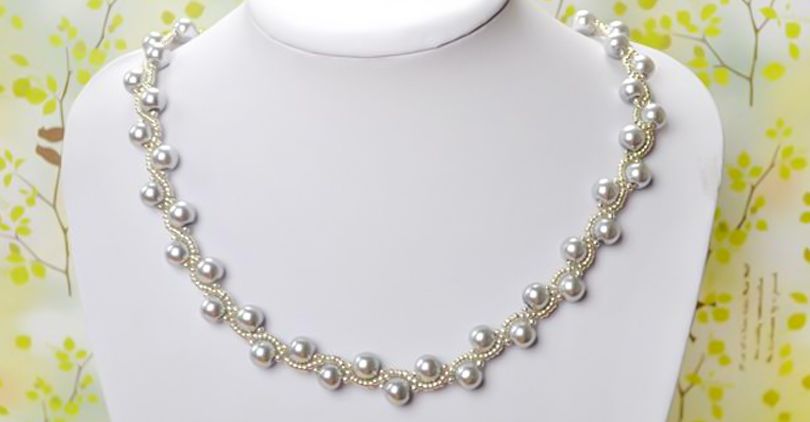
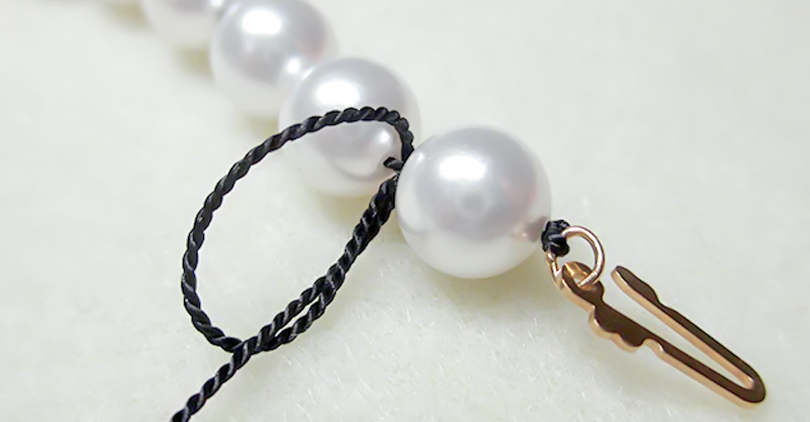
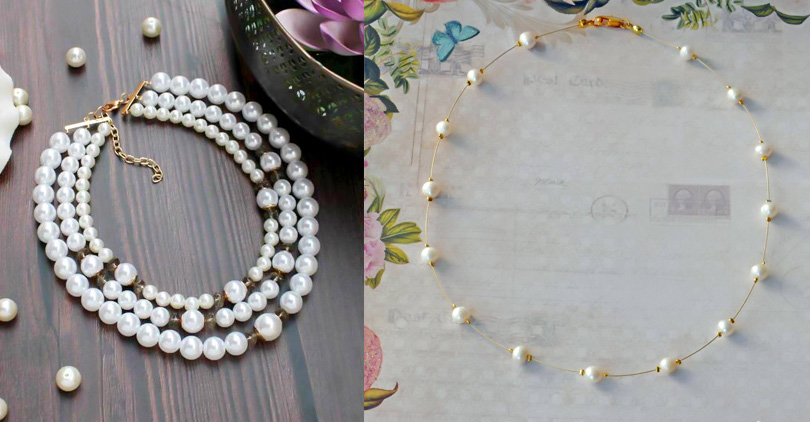
To create a stylish pearl necklace, use various colors or sizes to make stunning patterns and adopt trendy fashion. Hey Happiness suggests attaching a clip-on pendant to the necklace to get vintage designs with minimalistic styles.
Moreover, try chunky baroque and metal chains to create unique pieces and introduce creative designs to your jewelry wardrobe. Even quirky beads or shells on necklace strands can elevate new styles for endless iridescence to your outfits.
Warp Up
DIY pearl necklaces reflect your creative mind and sense of styling that allows space for trendy, latest fashion outfits.
Pick suitable silk lines, prepare thread, assemble beads, thread pearls, create knots, and insert a clasp to create a simple DIY pearl necklace. So, use our easy steps and quick guide to create beautiful necklace pieces at home.
Leave a Comment