How to Clean Pearl Earrings?


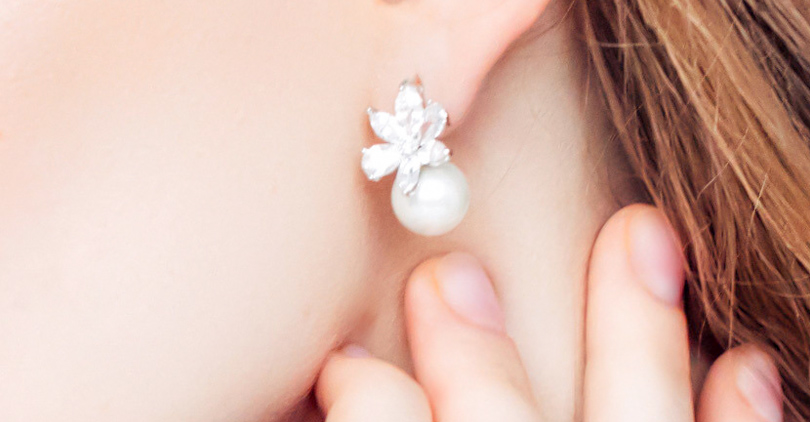
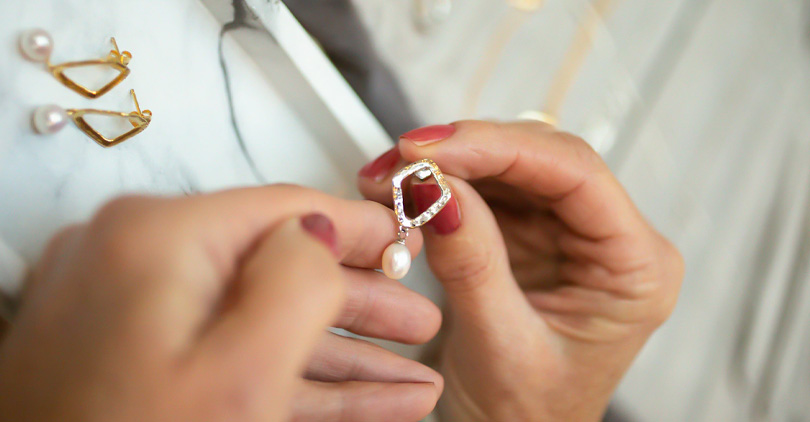
Worry about dirtying your shiny pearl earrings from wearing them every day? As a jewelry expert, I know where you're coming from – so let me help! Pearls are timeless and elegant additions to any jewelry collection, but they are delicate, so it is important to observe some special precautions.
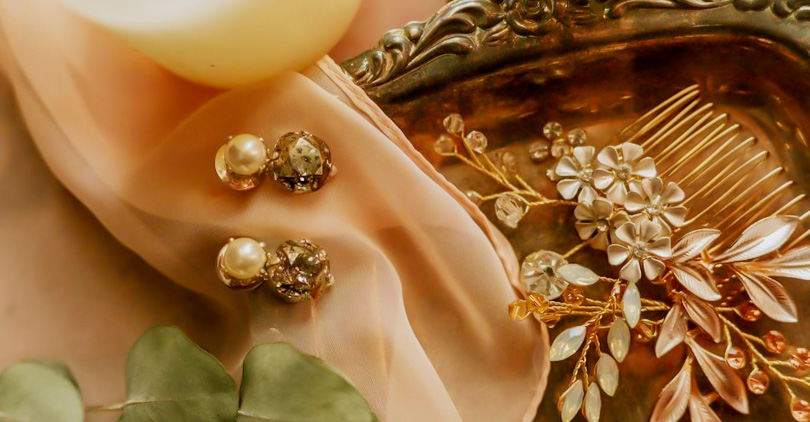
But first, before getting into how to clean pearl earrings, let us take a moment to just appreciate the natural beauty that pearls have. Did you know that pearls are the only gemstones created by living organisms?
Pearls are formed due to the entry of some irritant, such as sand or a parasite, inside the body of the oyster or mollusk. It, in turn, secretes layers of nacre (a composition of calcium carbonate and protein) over the object to give birth to a beautiful pearl.
Now that we've learned how amazing pearls are born let's go through how to sustain your precious pearl earrings so that they always look amazing. Such treasures demand rather careful treatment!
With the tips below, you will know how to clean your pearl earrings safely at home. So, relax, settle in a quiet place, and read how to love your pearls right now!
How to Clean Pearl Earrings
Are you looking for advice on how to clean your precious pearl earrings? Cleaning these delicate gems correctly is essential if you want them to keep their shine.
Below, we'll teach you easy and safe ways to clean your pearls at home—so they always look their best!
What You'll Need
To begin the process of cleaning your pearl earrings, it's important to make sure you have all the necessary materials on hand. The good news is that you won't need any expensive or special equipment for this task!
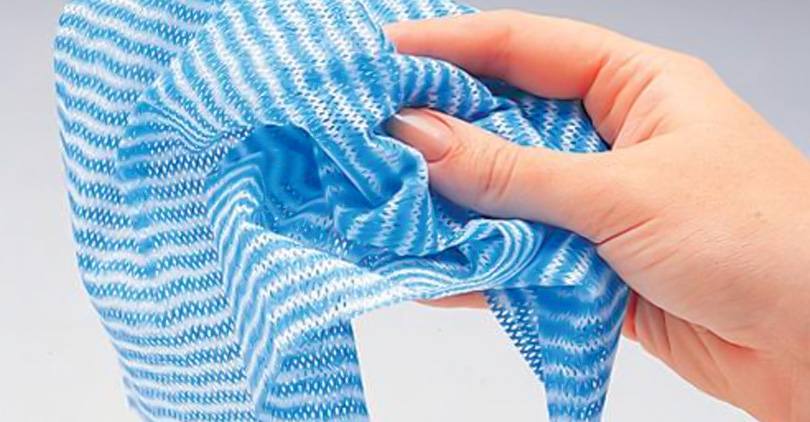
•An initial requirement is a cloth that is soft and does not produce lint. This cloth will be utilized to wipe the pearls dry as well as rub them up after washing them. It is consequently essential to ensure that it is free from dirt particles that could scratch the pearls when polishing them.
•The next step is to look for a small bowl and fill it with lukewarm water. (Avoid hot or warm water because if there are any existing fractures in the pearls, sudden temperature changes can cause them to deteriorate.)
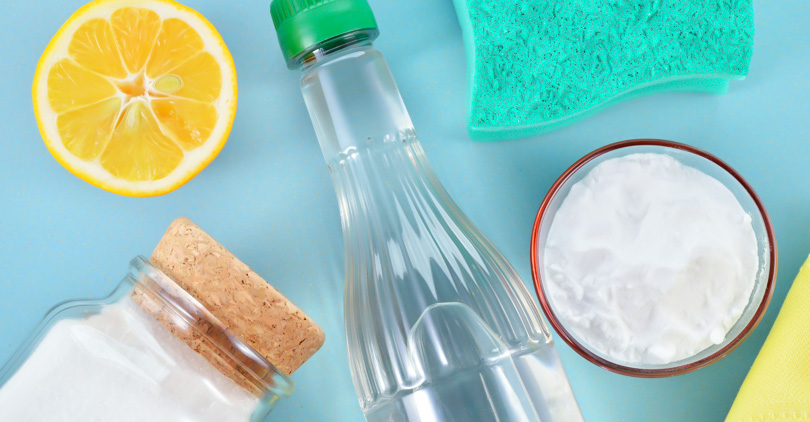
•To clean pearl earrings safely but still get rid of stubborn dirt, combine warm water with mild liquid soap. Avoid strong chemicals found in other cleaners and also avoid abrasives as much as possible (which could scratch their surface).
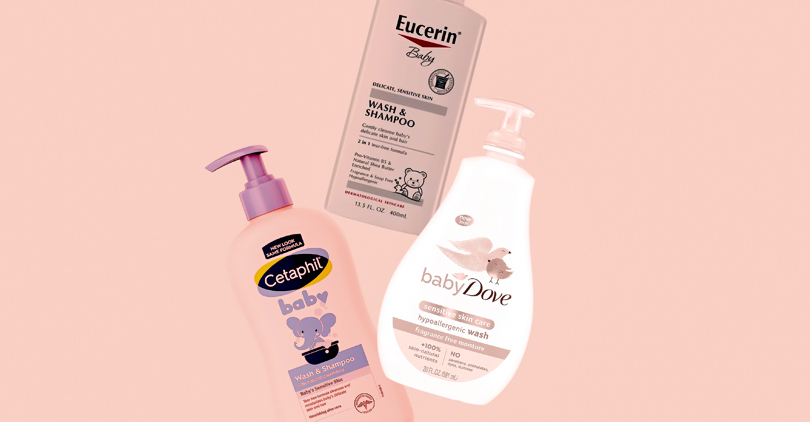
•You can use baby shampoo - it's very gentle and won't harm the pearls in any way. Squeeze a small amount into the bowl of warm water that you had prepared earlier.
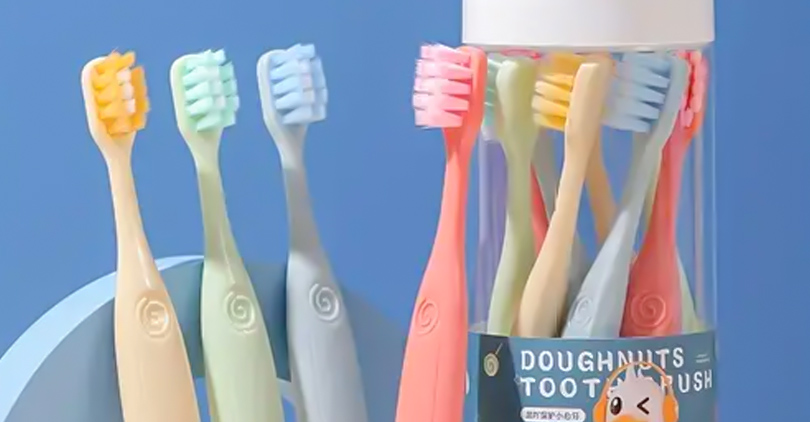
•The last item that will be needed is a toothbrush with soft bristles. This toothbrush will be used to remove any soil or dirt that might be stuck on the pearls.
Steps and Instructions
Assemble all necessary items before we begin the process of cleaning your pearl earrings. Please follow these instructions carefully to protect them and make sure they last as long as possible.
Step 1: Make a Cleaning Solution
Put a few drops of gentle dish soap or baby shampoo into some lukewarm water in a small bowl and swish it around gently. Ensure that the temperature is neither too hot nor too cold.
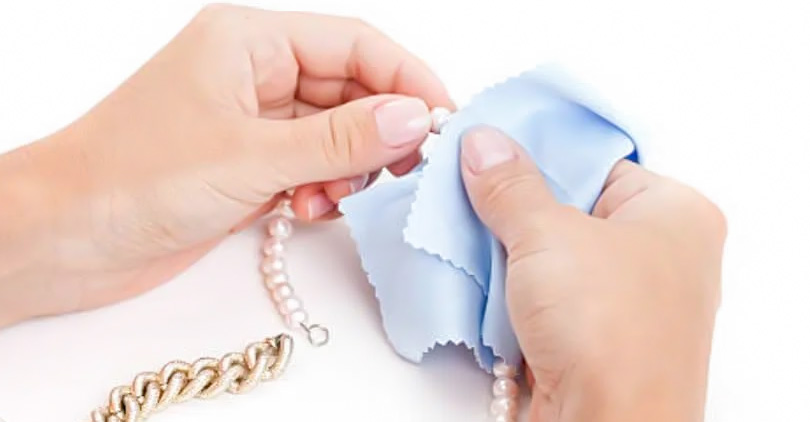
Step 2: Get Cloth Damp
Dip a soft, lint-free cloth into this mixture until it's slightly damp (not soaking wet).
Step 3: Clean Pearls Carefully!
Using that damp cloth, rub each pearl very gently, one earring at a time. Move your fingers softly across their surfaces to remove dirt or other particles you can see. Remember not to apply pressure or scrub hard because doing so might scratch the pearls!
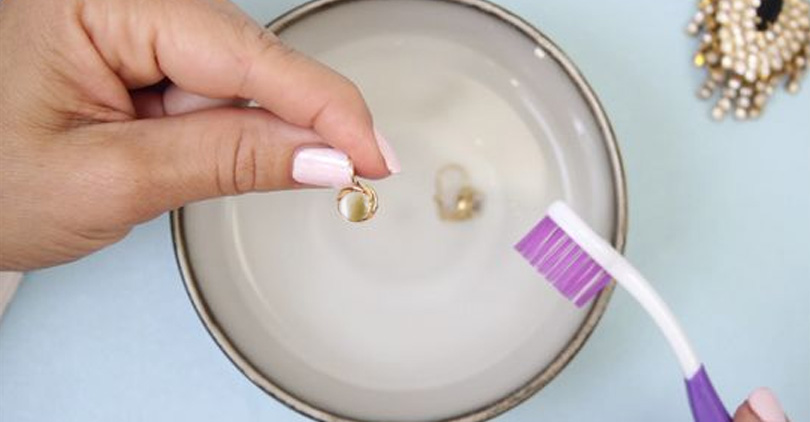
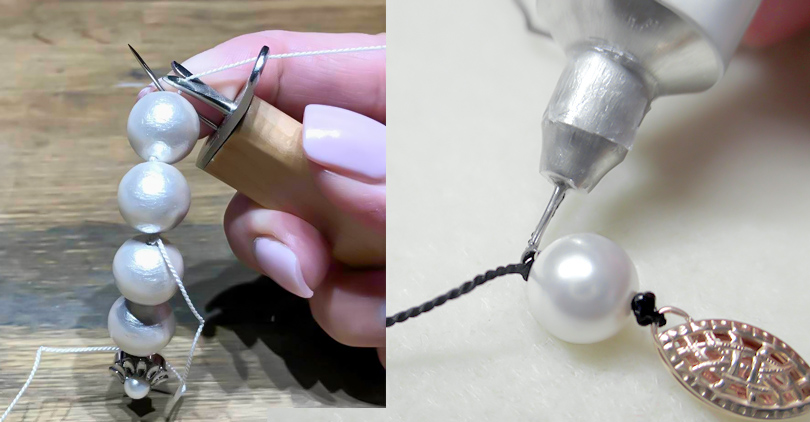
Step 4: Cleaning the Spaces between Pearls
In case your earrings comprise numerous pearls with small knots between them, put a soft-bristled toothbrush into the cleaning mixture.
Utilize this brush to cleanse every pearl individually. Be cautious enough to eliminate all dirt that could be stuck between the pearls. You should remember not to be too forceful when cleaning because your pearls require gentle care.
Step 5: Cleaning Your Earrings
Once you have finished cleaning your pearl earrings, rinse them in lukewarm water. This ensures that no soap residues are left on them. Any soap left on pearls can make them look dull later on when they dry off.
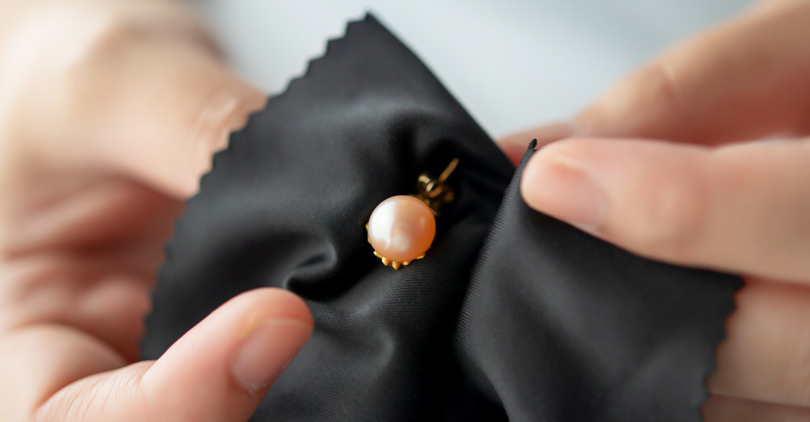
Step 6: Drying and Polishing
Take another soft cloth, one that is dry this time, and gently pat your pearl earrings until they are no longer wet. It is important to try to get them completely dry because moisture can cause damage to pearls when it is absorbed into them.
However, be careful not to apply too much force when drying—too much friction is not good.
Step 7: Storing the Right Way
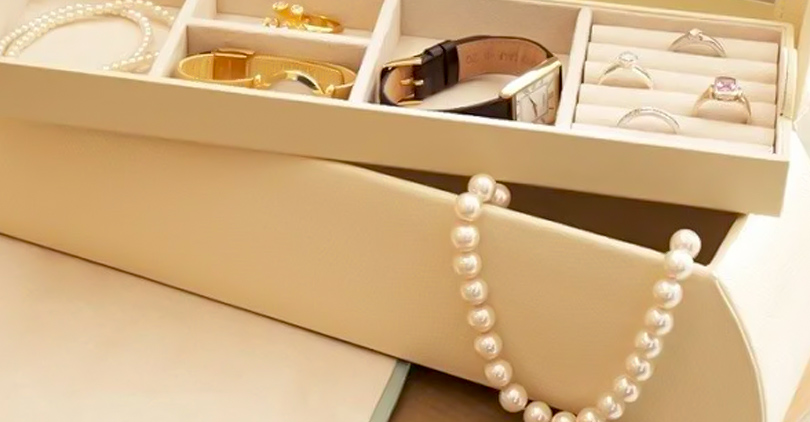
Once your pearl earrings are clean, store them in a jewelry bag or box with a soft lining, such as velvet, to avoid marks on them. Extreme heat and direct rays from the sun are not suitable for storage, so don’t keep them in those locations.
These recommendations will help you keep enjoying your pearls – with their beautiful looks and organic radiance – for many more years.
Other Care and Maintenance of Pearl Earrings
Once you have learned the proper method for cleaning your pearl earrings, it is now time to delve into overall care and maintenance techniques.
Storing Pearls Properly
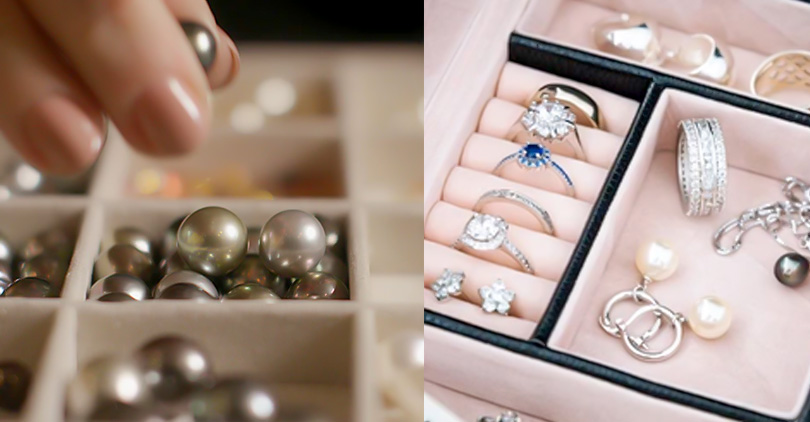
To keep your pearl earrings looking good and lasting long, how you store them is key. Don't just toss them in a pile of other jewelry pieces or let them crash around in a box—they'll get damaged that way.
Instead, keep pearls apart from anything else that could scratch them by storing them solo in a soft fabric pouch like velvet or silk. You can often get these when you buy pearl jewelry—it's a nice bonus that adds value to your purchase.
If pouches sound like too much work, you can also look for a jewelry box with divisions (and padding!).
Another idea is to buy a hanging organizer meant for jewelry—it should have small hooks on which you can hang each pair of earrings, allowing them to air out without tangling.
Avoiding Damage from Chemicals and Physical Impact
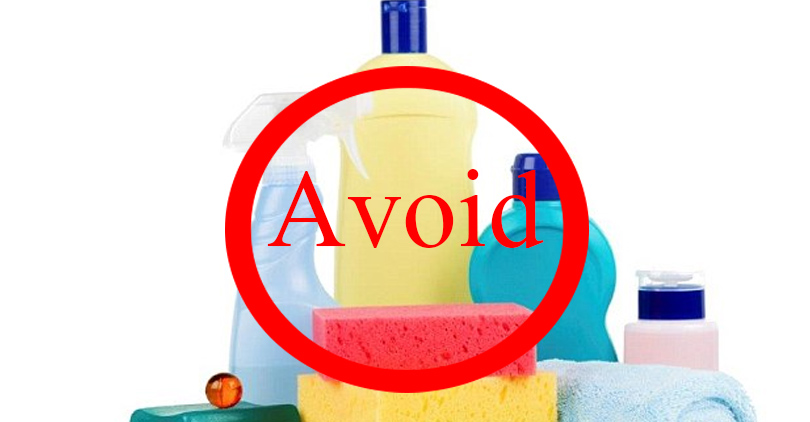
Pearls are valuable because of their beauty, but they are fragile and can be spoiled easily. To keep your pearl earrings looking good, avoid using substances such as acid, bleach, or even strong bases, as they can interfere with their luster.
Physical activity can also destroy pearls. It is, therefore, advisable not to wear them when working out or cleaning. The same applies to perfumes and hairsprays that have alcohol in them-they can also spoil the pearls.
Pearls can also get damaged when they come into contact with chlorinated water in swimming pools or hot tubs. If you plan on swimming laps, it is best to remove your pearl studs first.
When to Re-String and Maintain Clasps
Knowing when it is time to re-string your pearl earrings, as well as how to clean them and keep the clasps working well, is an important thing to learn.
If you follow this advice, then you can avoid having a string break and pearls falling off. It is recommended that every 1-2 years, you should have any pearl necklaces and bracelets re-strung. If there is any color change or if the strings become loose or start to look worn, they should be replaced.
At the same time, it is also important to inspect the clasps to confirm they are not broken or fragile before wearing them. If a clasp is no longer secure or seems weak, replace it immediately with a new one.
By following these instructions, your pearls will give you pleasure for many years. Remember: it's better to be safe than sorry!
Conclusion
Well done! At last, you are aware of all the information and strategies to care properly for your pearl earrings. If they are cleaned gently, stored correctly, and maintained regularly by re-stringing or repairing them, the pearls will appear wonderful for many years.
Pearls are not ordinary gemstones; they are wonders created by our planet. When you treat them well, they remain beautiful and shiny forever. You can wear your pearls with pride: you know how to maintain their fabulous looks now. So there is no point in not wearing them every day if you feel like it.
FAQs
How do you clean the non-pearl parts of your pearl earrings?
If you want to clean the parts of pearl earrings that are not pearl, you can either try using a jewelry cleaner that doesn't have strong chemicals just for this sort of thing or carefully clean them with a soft cloth.
How often do you clean pearl earrings?
If you want to keep your pearl earrings looking good, you have to clean them every couple of months so that dirt and oils do not accumulate on and damage their shiny surface. Nonetheless, be careful not to remove the nacre layer while cleaning, thereby making sure you do not do it too often.
How do you identify real pearls?
To tell if pearls are real, look at what's outside of them to see if they are perfect. You should also softly bite down on a pearl to feel if it is smooth and glossy - real ones have these qualities.
Why do pearls require special care?
Special care must be given when dealing with pearls because they are organic gems. They can be harmed by too much cold or heat, as well as chemicals and acids. If we take the time to clean them well, we can make them last longer and keep their lovely shine.
Leave a Comment