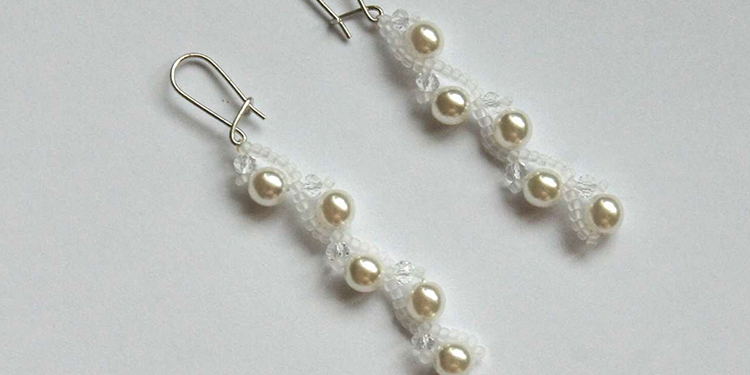
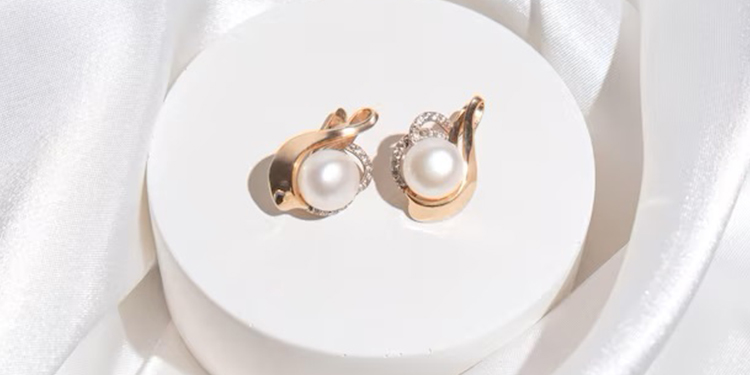
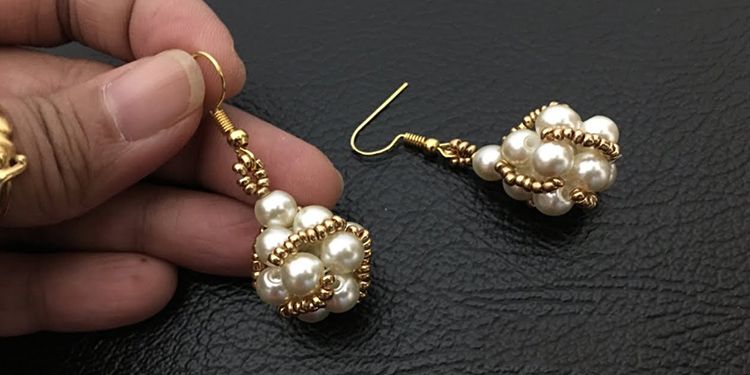
Pearl Earring Crafting Mastery: Your Step-by-Step Tutorial


Welcome to "Pearl Earring Crafting Mastery," your comprehensive guide to creating exquisite pearl earrings.
In this tutorial, we delve into the art of glueing pearl earrings, a skill of paramount importance in jewellery crafting.
With their timeless elegance, Pearls deserve meticulous attention to detail, and mastering the art of glueing is crucial to ensure your creations stand the test of time.
Our journey begins with a meticulous overview of materials and tools essential for this craft, enabling you to gather everything you need for a seamless creative process.
However, it's more than just having the right tools; it's also about applying the proper technique.
Throughout this tutorial, we'll emphasise the importance of precision and finesse, ensuring your pearl earrings radiate sophistication and beauty.
So, let's embark on this journey to elevate your craftsmanship and create stunning pearl earrings that captivate and enchant you.
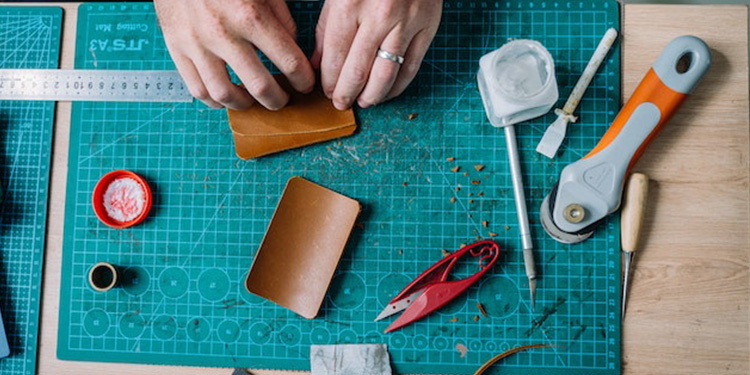
Preparing Your Workspace
Creating a conducive workspace is a fundamental step toward successful pearl earring crafting.
To embark on this creative journey, follow these critical steps in preparing your workspace.
Setting Up a Clean and Well-lit Area
Begin by selecting a clean and clutter-free workspace.
A clutter-free environment fosters focus and minimizes the risk of losing small components.
Ensure your workspace is well-lit; natural daylight or a bright, adjustable task lamp is ideal.
Good lighting is essential for accurately assessing colors, textures, and the fine details of your pearl earring project.
Organizing Your Tools and Materials
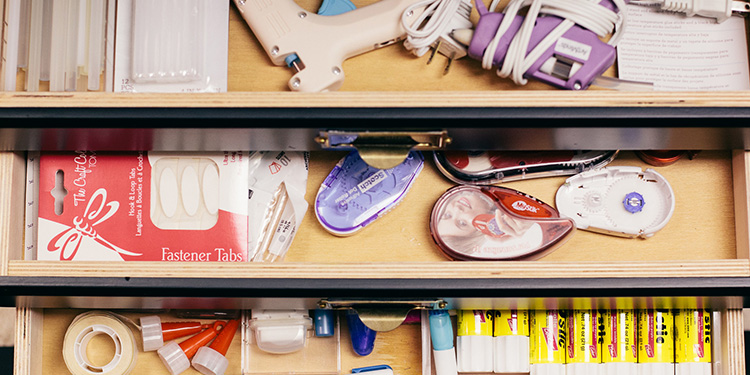
Efficiently organizing your tools and materials is essential for a smooth crafting experience.
Invest in a dedicated storage system, like small containers, trays, or a toolbox, to keep your items easily accessible and neatly arranged.
Categorize your materials, such as pearls, earring findings, adhesives, and other components, and ensure each has its designated space.
This organization will save time and reduce the chances of misplacing essential items during crafting.
Safety Precautions
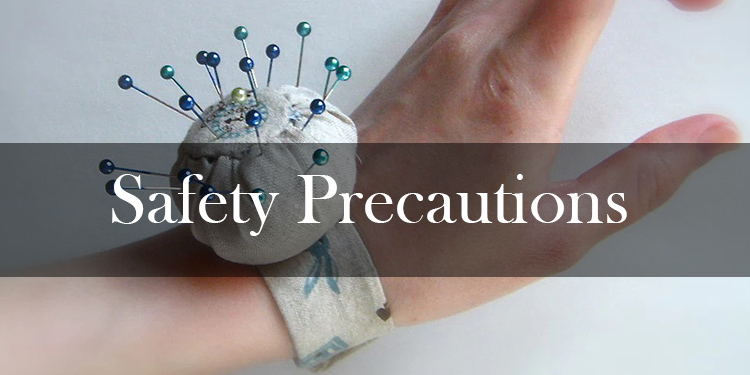
When embarking on the captivating journey of crafting pearl earrings, it's vital to consider safety precautions that safeguard your well-being and enhance your crafting experience.
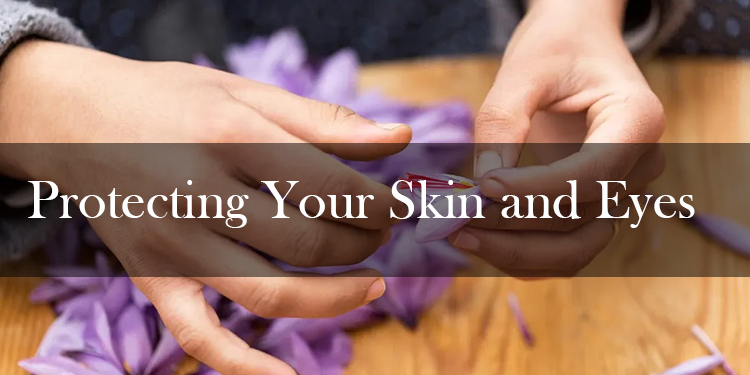
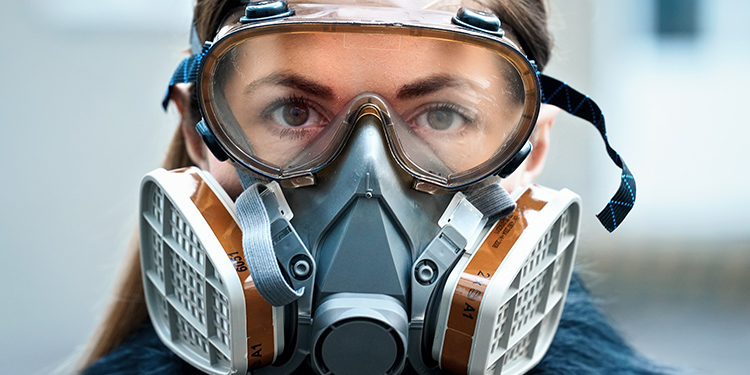
Protecting Your Skin and Eyes:
1. Gloves and Eye Protection:
Prioritize using latex or nitrile gloves to shield your skin from adhesive chemicals.
Safety goggles or protective eyewear are essential to guard your eyes against accidental splashes or fumes.
2. First Aid:
Have a well-equipped first aid kit at hand, ready to address minor cuts, burns, or irritations.
Accidents can happen, and prompt attention can prevent complications.
3. Skin Protection:
Utilize a barrier cream or lotion to create additional protection for your skin.
This serves as a shield against potential irritants.
Ventilation and Respiratory Safety:
1. Adequate Ventilation:
Ensure you work in a well-ventilated area, preferably near an open window or under a ventilation hood.
Adequate ventilation helps disperse fumes and maintain a clean, breathable atmosphere.
2. Respiratory Protection:
In situations with solid adhesive fumes, consider wearing a respirator or dust mask to protect your lungs from inhaling harmful particles.
3. Proper Storage:
Store adhesive materials in airtight containers and avoid direct sunlight and extreme temperatures.
This preserves their integrity and reduces the risk of toxic fumes.
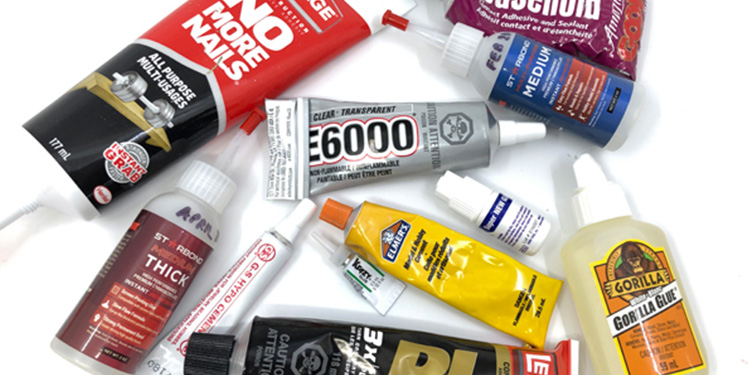
Selecting The Right Glue
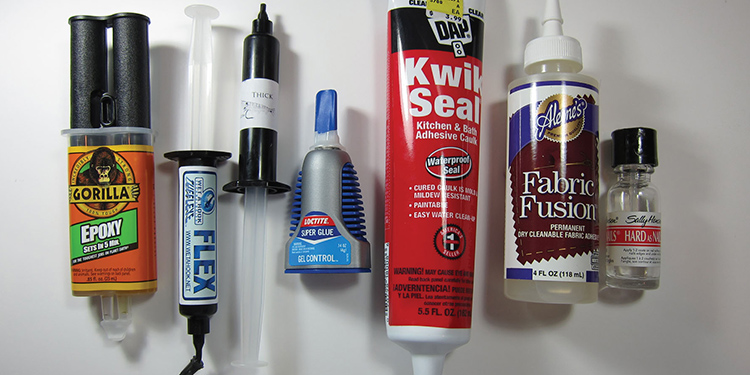
When crafting pearl earrings, selecting the suitable glue is a pivotal step in ensuring the longevity and beauty of your creations.
Let's explore the key considerations in this crucial decision.
Types of Glue for Pearl Earrings
1. Epoxy Resin:
This versatile adhesive is known for its strong bond and durability.
It's ideal for securing pearls to various surfaces, offering a reliable and long-lasting hold.
2. Jewelry Glue:
Specifically designed for jewellery making, this adhesive is often transparent and moisture-resistant, making it a suitable choice for pearl earrings.
3. Cyanoacrylate (Super Glue):
Quick-bonding option, super glue can work well for pearl earrings, but there may be better choices for porous materials as they can become brittle over time.
4. Two-Part Adhesives:
These consist of a resin and hardener that you mix before application.
They provide a strong bond and are suitable for various materials, including pearls.
Factors to Consider in Glue Selection
1. Material Compatibility:
Ensure the glue you choose is compatible with the pearls and the earring base material.
Some glues may adhere poorly to certain surfaces.
2. Drying Time:
Consider the time it takes for the glue to dry.
Some projects may require a quick-setting adhesive, while others allow longer drying times.
3. Transparency:
For pearl earrings, transparent glue is often preferred as it won't affect the overall appearance of the jewellery.
4. Durability:
Assess the durability and moisture resistance of the glue, as pearl earrings can be exposed to varying environmental conditions.
5. Ease of Use:
Choose a glue that suits your level of expertise.
Some adhesives may require more precise application techniques than others.
6. Allergies and Safety:
Be aware of any allergies or sensitivities to the glue, and take necessary safety precautions, like working in a well-ventilated area.
Preparing the Pearls
Cleaning Pearls
Gently wipe them with a cloth to remove any surface dirt or oils.
Avoid abrasive cleaning agents, as they can damage the delicate pearl surface.
Sorting and Matching Pearls
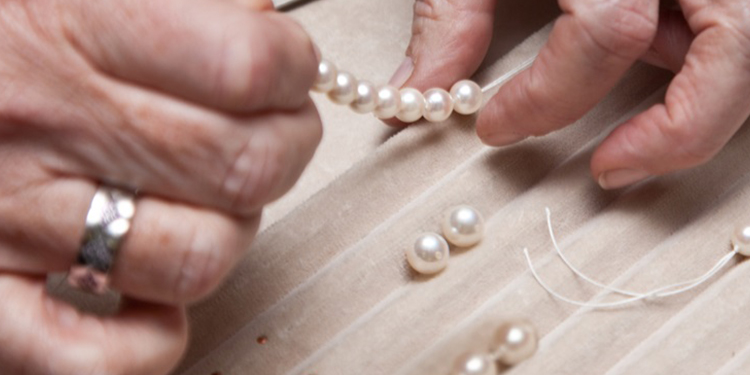
Organize pearls by size, shape, and color for a balanced, harmonious look.
Ensure that the pearls you choose for a pair of earrings match closely in terms of characteristics.
Drilling if Necessary
If your pearls aren't pre-drilled, carefully drill small holes using a jewellery drill bit.
Take care to maintain symmetry and avoid damaging the pearls.
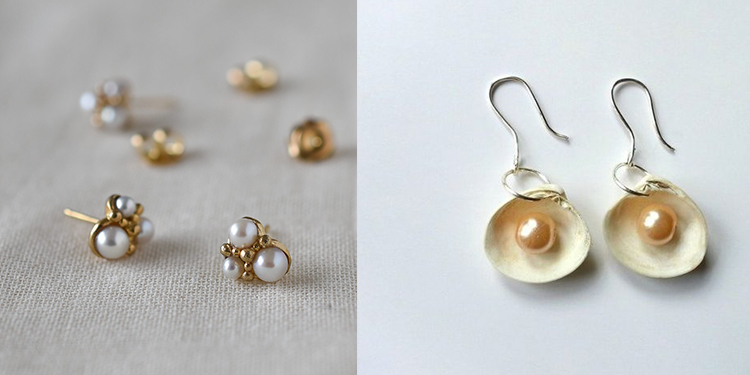
Choosing the Earring Base
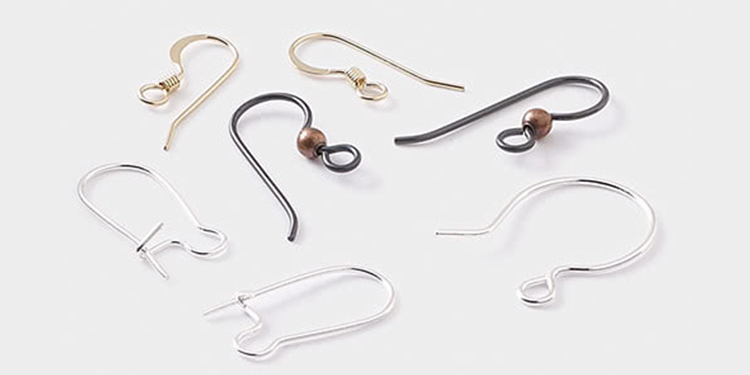
Types of Earring Bases:
Select from various earring base options, such as studs, hoops, or dangle settings.
Based on your design and budget, consider the base material, whether it's sterling silver, gold, or other metals.
Considerations in Base Selection:
Ensure the earring base complements the pearls in terms of style and color.
Factor in the weight and size of your pearls, as heavier pearls may require more substantial bases for stability.
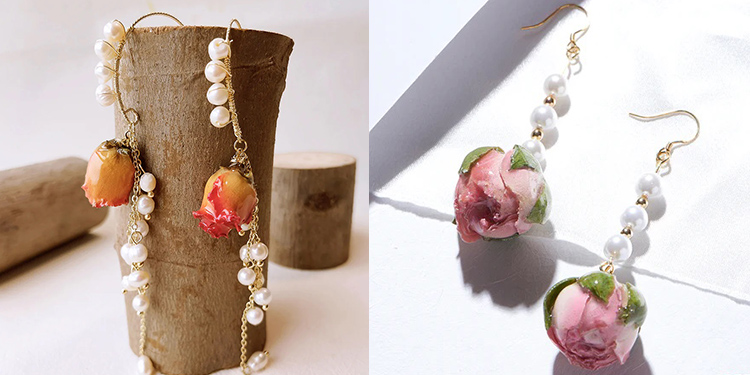
Planning Your Design
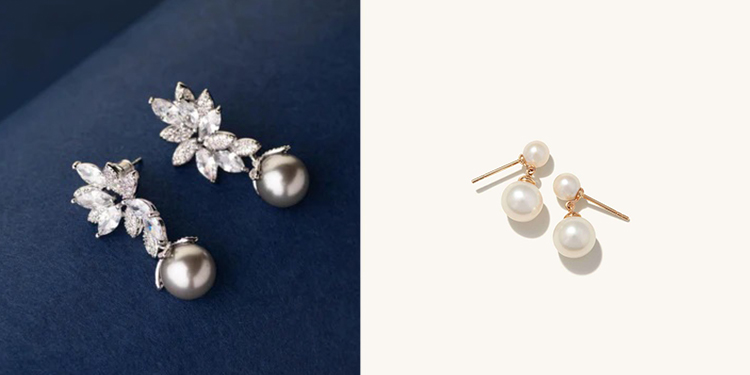
Sketching Your Design:
Create a detailed sketch of your earring design, incorporating the arrangement and placement of pearls.
This serves as a visual reference throughout the crafting process.
Positioning Pearls on the Base:
Arrange the pearls on the earring base according to your design sketch.
Experiment with different placements to achieve the results you need.
Applying the Glue
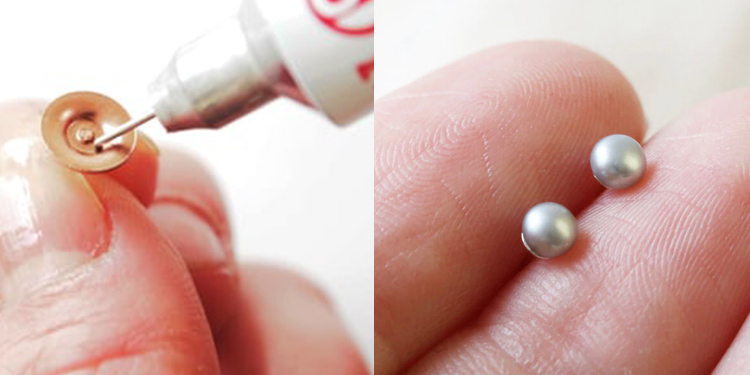
Glue Application Techniques:
Use a fine-tip applicator or toothpick for precise glue application.
Apply a small amount of glue to the pearl and the base for optimal adhesion.
Dos and Don'ts of Glueing Pearls:
Do work in a well-ventilated area to prevent inhaling fumes.
Don't use excessive glue; it can overflow and mar the pearl's lustre.
Attaching Pearls to the Base
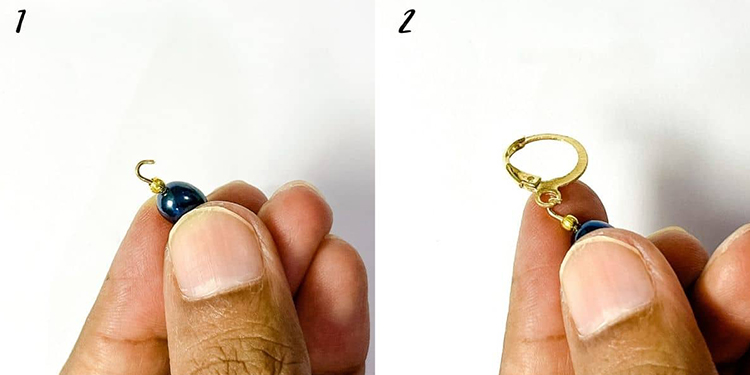
Positioning Pearls:
Place pearls on the earring base according to your design.
Ensure they are evenly spaced and aligned.
Setting Pearls in Place:
Press pearls gently but firmly onto the base, allowing the glue to create a secure bond.
Wipe off any excess glue immediately to prevent it from drying and marring the pearls.
Drying and Curing
Proper Drying Time:
Allow the earrings to dry for the recommended time specified by the adhesive manufacturer.
Avoid disturbing the earrings during this crucial curing period.
Curing for Added Durability:
If using epoxy resin, consider additional curing time for enhanced durability.
Follow the manufacturer's instructions for curing, which may involve exposure to heat or UV light.
Checking for Imperfections
Identifying Common Issues:
1. Inspect for misaligned pearls, uneven spacing, or excess glue residue.
2. Look for imperfections that may affect the overall aesthetics.
Troubleshooting and Solutions:
1. Realign pearls if necessary and gently remove excess glue with a toothpick.
2. Be prepared to make adjustments to achieve the desired perfection.
Adding Finishing Touches
Cleaning Residue:
1. Clean any remaining glue residue with a soft cloth or a specialized pearl cleaning solution.
2. Ensure the pearls regain their natural lustre.
Polishing Pearls:
1. Gently polish the pearls with a soft, dry cloth to enhance their shine and beauty.
2. Avoid abrasive polishing materials that may scratch the pearls.
Securing Earring Components
Adding Posts and Backings:
1. Attach earring posts or hooks to the base securely.
2. Ensure they are aligned and centred for a balanced look.
Testing for Stability:
1. Before wearing, check the stability and balance of the earrings.
2. Ensure they hang evenly and comfortably when worn.
Final Quality Check
Inspecting the Finished Earrings:
1. Examine the completed earrings for any defects, such as loose pearls or irregularities in the design.
2. Ensure they meet your quality standards.
Making Necessary Adjustments:
1. If issues are detected, make adjustments, such as re-glueing or repositioning pearls.
2. Strive for a flawless final product.
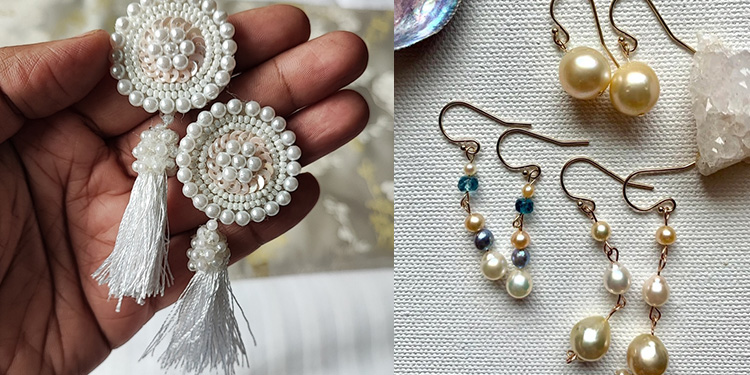
Presentation and Gifting
Packaging Your Pearl Earrings
1. Choose elegant and appropriate packaging for your earrings, such as a jewellery box or pouch.
2. Ensure the packaging protects the earrings during storage and gifting.
Personalization and Gift Ideas:
1. Consider personalizing the packaging with a handwritten note or custom label.
2. Explore creative gift ideas to make your handmade pearl earrings a memorable present for loved ones.
Conclusion
Pearl Earring Crafting Mastery has equipped you with the knowledge and skills to create stunning pearl earrings that radiate elegance and charm.
Following our step-by-step tutorial, you've learned the art of glueing pearls precisely, from workspace preparation to final presentation.
Now, embark on your journey to craft exquisite pearl earrings that captivate and enchant you. Happy crafting!
Frequently Asked Questions FAQs
What type of glue is best for pearl earrings?
The best glue for pearl earrings depends on material compatibility and drying time.
For durability and suitability, consider epoxy resin, jewelry glue, or two-part adhesives.
How can I prevent pearls from falling off earrings?
Prevent pearls from falling off earrings by using proper glue, ensuring a secure bond, and regularly checking for any loose pearls or weakened adhesive.
Can I repair my pearl earrings if they come apart?
Yes, you can repair pearl earrings if they come apart.
Carefully remove old glue, reapply a suitable adhesive, and securely reattach the pearls to the earring base.
How do I clean glued pearl earrings?
To clean glued pearl earrings, gently wipe them with a damp cloth to remove oils.
Avoid abrasive cleaning agents to preserve their lustre.
Are glued pearl earrings as durable as other types?
Glued pearl earrings can be durable if the suitable adhesive is used and applied correctly.
Factors like glue type and craftsmanship influence their longevity, making them comparable to other earring types.
Leave a Comment