The Art of Pearl Stringing: A Beginner's Guide


Welcome, welcome! Get ready to dive into the dazzling world of pearl stringing! You're in the right place if you're new to the pearl-stringing word. Pearl stringing is a beautiful art practiced for centuries, and its appeal is still as strong as ever.
Who doesn't love a strand of beautiful pearls around their neck or wrist? But, to ensure you make beautiful and durable pearls, you must master the proper pearl stringing techniques.
Don't fret; this guide is here to help you. This beginner's guide to pearl stringing will teach you how to create beautiful, durable pieces that will make you stand out.
So, let's get this party started! Get ready to channel your inner jewelry-making superstar and learn the art of pearl stringing. You won't regret it!
Selecting the Right Materials: Essential Pearls of Wisdom
Ah, the fun part! Let's talk about selecting suitable materials for pearl stringing! This is where you showcase your creativity and ingenuity.
First, let's discuss the thread or cord holding your pearls together. You want a robust, flexible option that won't damage your pearls' surface. Silk thread is a classic choice known for its strength and durability. Nylon thread is another super healthy option, but be careful - it can damage your pearls over time. Finally, beading wire is an excellent option for working with heavier pearls, but silk or nylon thread is more flexible.
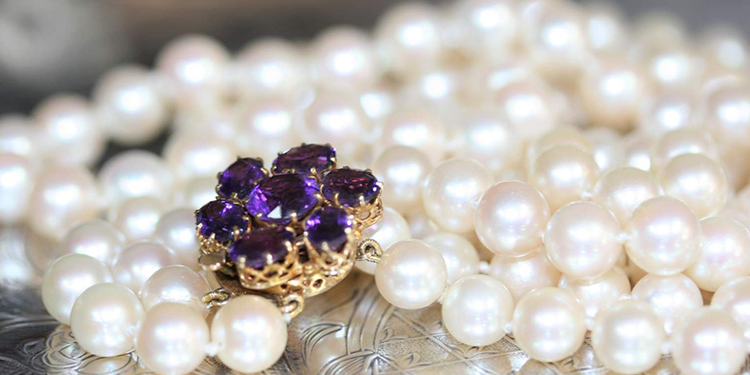
Let's move on to the fun stuff - the clasps and findings! This is where you make your final piece your own. There are many options, including toggle clasps, lobster clasps, or fancy decorative clasps. It's all about finding the one that complements your pearls and style.
When selecting your clasps and findings, consider the material they're made of. Sterling silver, gold, and platinum are popular choices that add a touch of elegance and durability to your piece. But don't worry; many high-quality options are made from less expensive materials like brass or pewter.
Preparing the Pearls: Sorting, Inspecting, and Matching
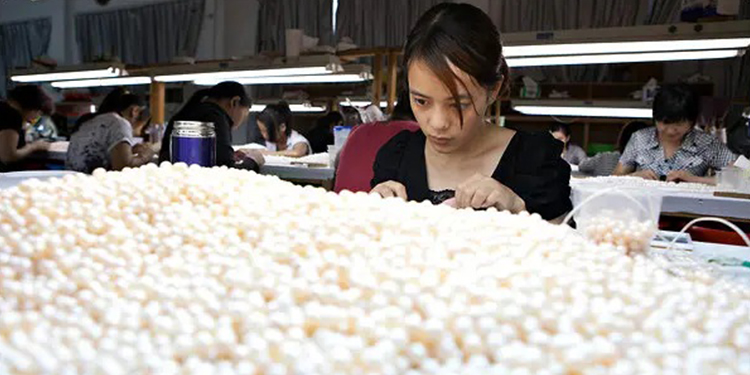
Now let's get down to the nitty-gritty of pearl stringing - preparing the pearls for their big occasion! Before you start stringing, you must sort through your pearls and inspect them for any defects, like cracks or chips. If you find any, don't panic! You can take them to a professional jeweler to fix them or toss them if they're beyond repair.
Once you've sorted through your pearls and ensured they're defect-free, it's time to match them up! You want to ensure that your chosen pearls are identical in shape, size, and color for a uniform and shiny outlook.
But before you start stringing, properly cleaning your pearls is essential. No one likes a dirty necklace, right? Grab a soft, damp cloth and gently wipe away dirt or debris. Avoid harsh chemicals that could damage the pearls' delicate surface.
And remember to store your pearls properly! You should keep your pearls in a cool and dry area, away from direct sunlight. Keeping your pearls away from other Jewelry is better to avoid scratches or damage.
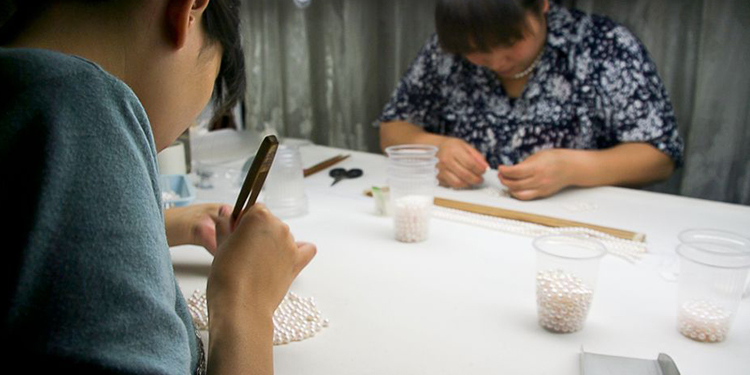
Stringing Techniques: Perfecting the Art of Pearl Stringing
Ah, the finishing touches! They can make all the difference in creating a shiny, good-looking look for your pearl necklace. And let's not forget about the art of pearl stringing - it's a beautiful skill that takes time, practice, and patience to master. So let's explore some essential tips for giving your pearl necklace that perfect polished look and honing your pearl stringing expertise.
Adding clasps and findings that seamlessly blend with the rest of the chain is essential to create a polished finish for your pearl necklace. Whether you choose a simple, classic clasp or something more ornate, make sure it complements the style of your necklace and creates a cohesive look.
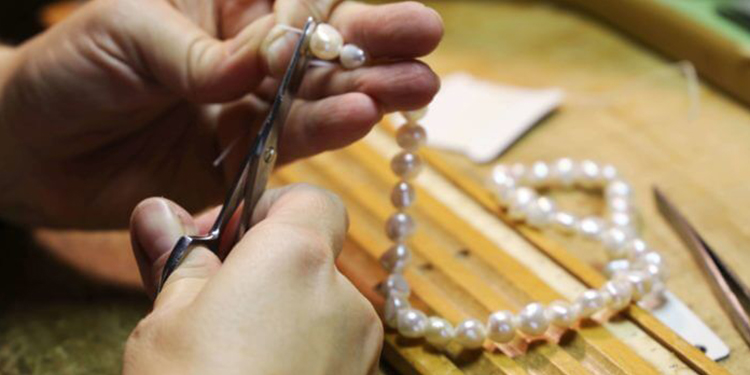
Once you've chosen your clasps and findings, it's time to attach them to the necklace. This is where attention to detail is critical. Be sure to thread the cord through the clasp, find and tie a knot, or use a crimp bead to secure it. Adding a small amount of glue can help hold everything together.
Try using a clamshell bead tip to hide knots and create a seamless finish. This small, cup-shaped finding can be attached to the end of the cord, hiding the knot and creating a polished look. Thread the cord through the bead tip and tie a knot at the end. Then, pliers close the bead tip around the knot, creating a closed, finished look.
And when it comes to pearl stringing, understanding the different techniques is essential. Whether you pick a single, double, or triple strand, each style can give your necklace a refreshing look and feel. So take your time to consider what you want to achieve and select the style that fits your idea.
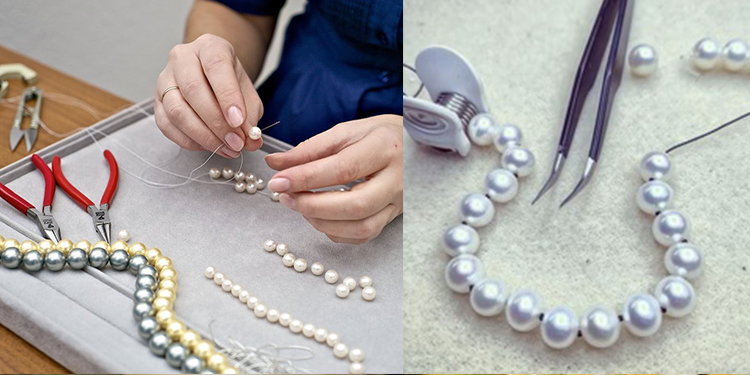
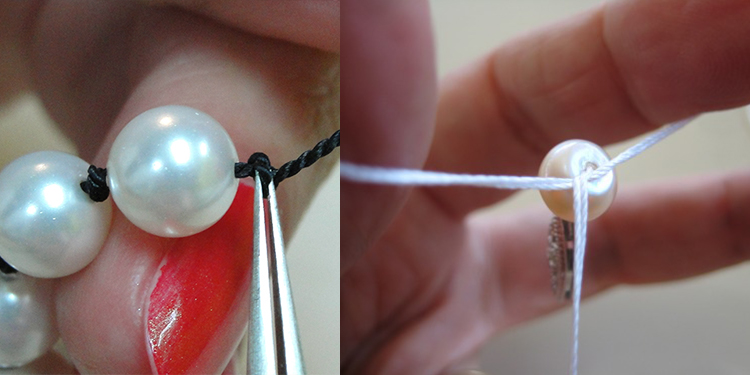
One of the most popular techniques for pearl stringing is knotting between pearls. This involves tying a knot between each pearl to keep them from rubbing together and causing damage. While this technique can create a stunning, traditional look, it can add extra time and cost to your stringing process.
When it comes time to string your pearls, follow these basic steps:
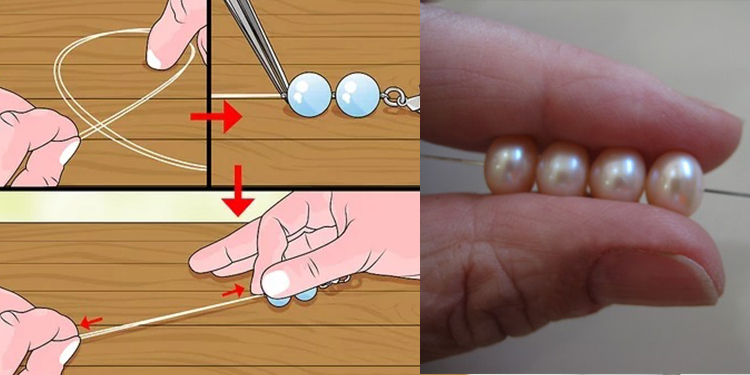
● Cut a length of silk cord or other suitable stringing material to the desired size for your necklace.
● Attach a clasp to one end of the cord using a knot or crimp bead.
● Thread each pearl onto the cord, being sure to match them in size and shape.
● If you choose to knot between the pearls, tie a knot between each one.
● Once all the pearls are strung, attach the other end of the clasp to the cord using a knot or crimp bead.
● Use pliers to secure the knots or crimp beads and trim any excess cord.
Care and Maintenance: How to Take Care of Your Precious Pearls
Pearls are precious gems that require special care to keep them looking their best. Here are some critical pointers for maintaining and caring for your pearl necklace:
● Handle with care: Pearls are delicate and can easily scratch or damage. Avoid exposing your pearls to sharp objects, chemicals, or extreme temperatures. It's best to handle them with clean, dry hands.
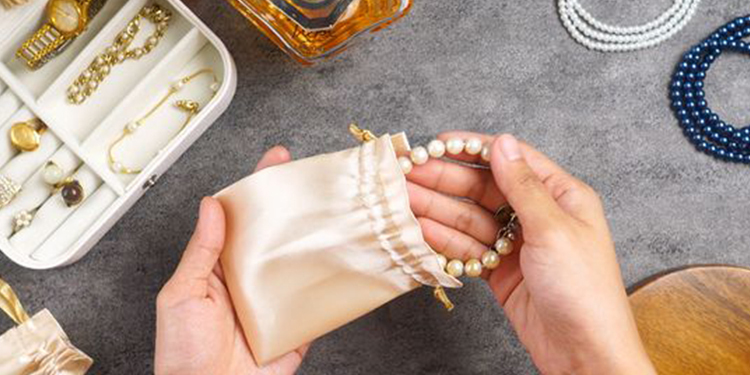
● Store properly: Store your pearls in a soft, dry cloth or a jewelry pouch to protect them from scratches and damage. Avoid storing them with other jewelry pieces that could scratch or damage the pearls.
● Clean regularly: Pearls should be cleaned regularly to remove any dirt, oils, or other substances that could dull their luster. Use a soft cloth or a pearl cleaning solution to clean the pearls.
● Repair when necessary: If your pearl necklace becomes damaged, it must be repaired immediately. Avoid trying to fix it yourself, as this could cause further damage. Take it to a professional jeweler who has experience working with pearls.
● Avoid exposure to sunlight and heat: Pearls can become discolored or faded when exposed to direct sunlight or high heat. Avoid wearing pearls when sunbathing, using tanning beds, or in hot environments like saunas.
● Wear often: Pearls are meant to be worn and enjoyed! Wearing your pearl necklace regularly will help keep it looking its best by preventing oils and other substances from building up on the pearls.
By following these best practices, you can help ensure that your pearl necklace remains a treasured piece for years. Remember to handle your pearls carefully, store them properly, clean them regularly, and have them repaired by a professional when necessary.
Conclusion
In conclusion, proper pearl stringing techniques are essential for creating a beautiful and long-lasting necklace. From selecting suitable materials to preparing the pearls for stringing, mastering the art takes practice, patience, and attention to detail. However, anyone can learn how to string pearls like a pro with guidance and resources.
We encourage you to try pearl stringing and experiment with different techniques to create unique designs. Not only is it a rewarding hobby, but it can also be a valuable skill for creating personalized gifts or even starting a small business.
Many great resources, such as books, tutorials, and classes, are available online and in person to continue learning about pearl stringings. Feel free to contact experts in the field for advice and guidance. With dedication and practice, you, too, can become a skilled pearl stringer and create beautiful and timeless jewelry pieces.
Leave a Comment